Installing ConsoleOne for Windows for configuring and managing eDirectory – Part 1

ConsoleOne is a Java-based administration tool that you can use to flexibly manage Novell and third-party products on a variety of platforms. ConsoleOne runs on SUSE Linux Enterprise, NetWare, Red Hat Linux, Solaris and Windows. It provides a single point of administration for your network resources, including Novell eDirectory objects, schema, partitions, replicas, and NetWare servers. It is similar to Microsoft Management Console (MMC) found in Windows operating system.

For more information about ConsoleOne, please refer to the article on the Novell web site. You’ll also find the download link for ConsoleOne software on the same web site.

http://www.novell.com/products/consoles/consoleone/overview.html


Pre-requisites for ConsoleOne:

To install ConsoleOne, you’ll need to have Windows XP/Windows 2003 operating system installed with Novell Client for Windows.

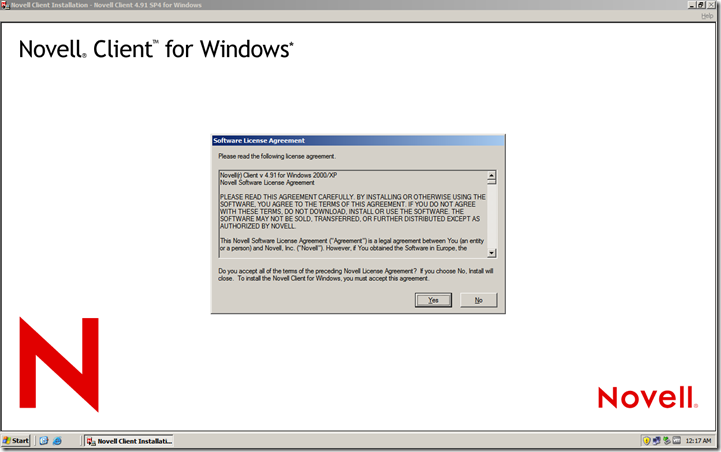
Novell Client™ 4.91 for Windows XP/2000 is workstation software that brings an easy-to-use, secure, and manageable networking environment to Windows XP and Windows 2000 users. It enables you to access NetWare® services from Windows XP or 2000 workstations or servers and tightly integrates either product into your NetWare network.

You can download Novell Client for Windows from the following link:

http://www.novell.com/products/clients/windows/xp2000/overview.html


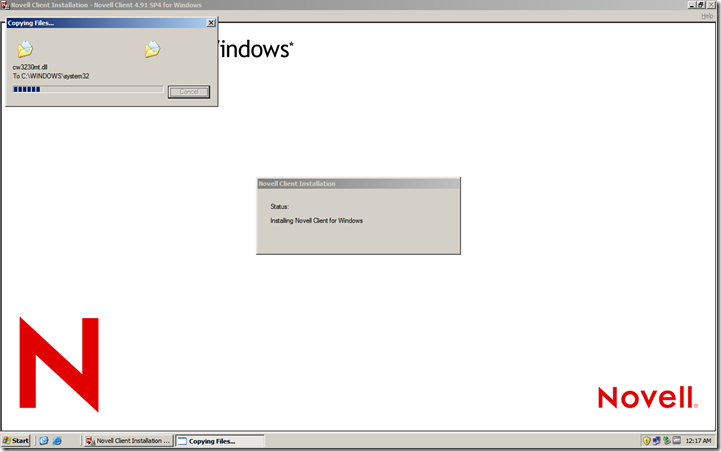
Novell Client for Windows installation walkthrough:

Client01

Client02

Client03

Client04


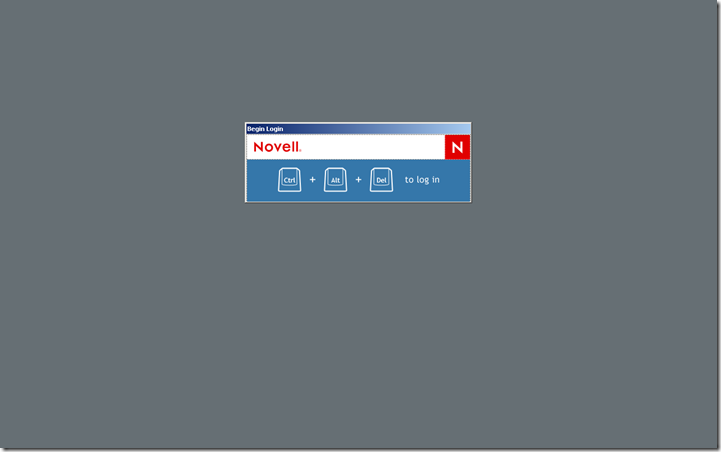
Once the server is rebooted, the logon screen will change.

Client05

Client06


Proceed with installation of ConsoleOne in the following article:

Installing ConsoleOne for Windows for configuring and managing eDirectory – Part 2

Installing ConsoleOne for Windows for configuring and managing eDirectory – Part 2
Installing ConsoleOne for Windows is also pretty straightforward.

You can download ConsoleOne client for the following link: ConsoleOne 1.3.6h

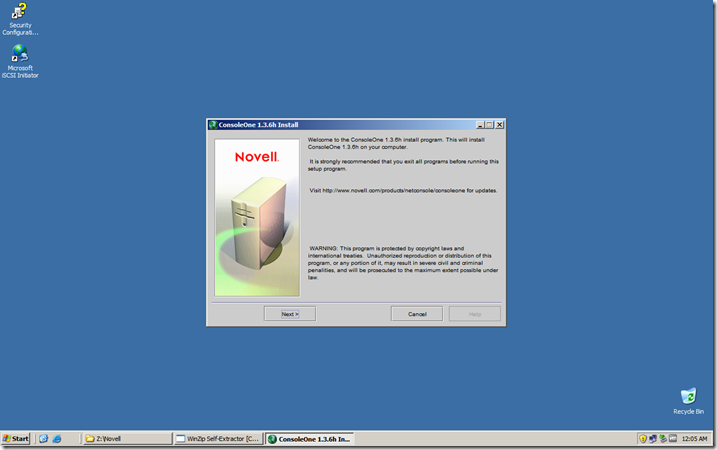
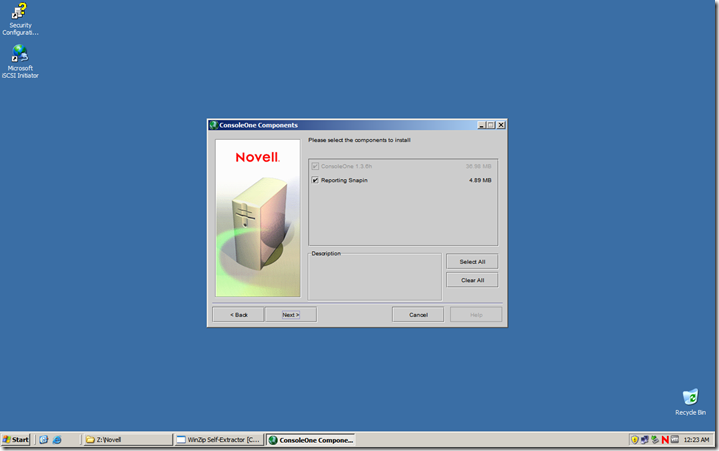
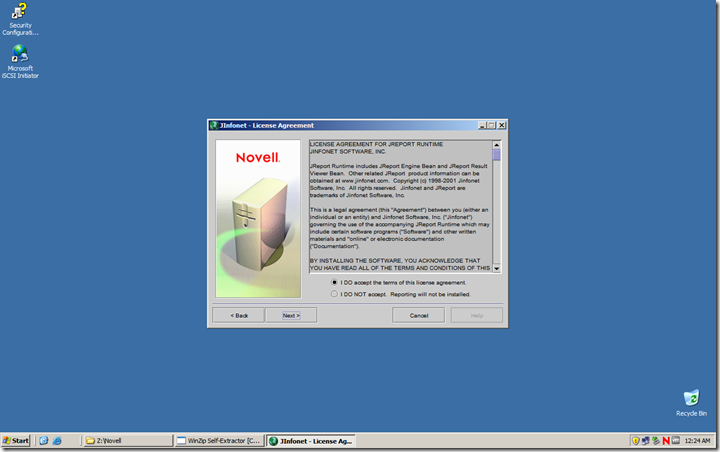
Follow the steps below to install ConsoleOne.

Img01

Img02

Img03

Img04

Img05

Img06

Img07

Img08

Img09

Img10

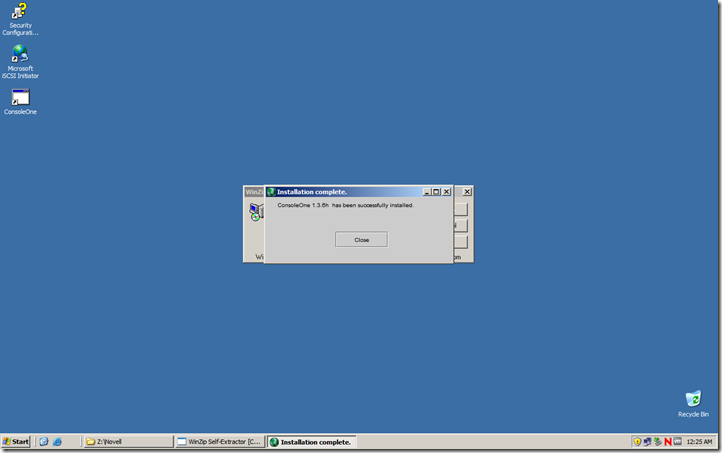
Installation Complete !!!

Go back to Installing ConsoleOne for Windows for configuring and managing eDirectory – Part 1

Installing Novell eDirectory 8.8 on a Windows Server – Walkthrough

You can install eDirectory 8.8 for Windows without the Novell Client.

Refer to the following Link for more information related to System Requirements, Prerequisites etc. :

Installing Novell eDirectory on Windows


Following is the easy walkthrough on the installation process of eDirectory

At the Windows server, log in as Administrator or as a user with administrative privileges.

If you have Autorun turned off, run setup.exe from the nt folder (32-bit eDirectory) and windows folder (64-bit eDirectory) in the Novell eDirectory 8.8 SP6 CD or from the downloaded file.

Img01

Img02

The installation program checks for the following components before it installs eDirectory. If a component is missing or is an incorrect version, the installation program automatically launches an installation for that component

NICI 2.7

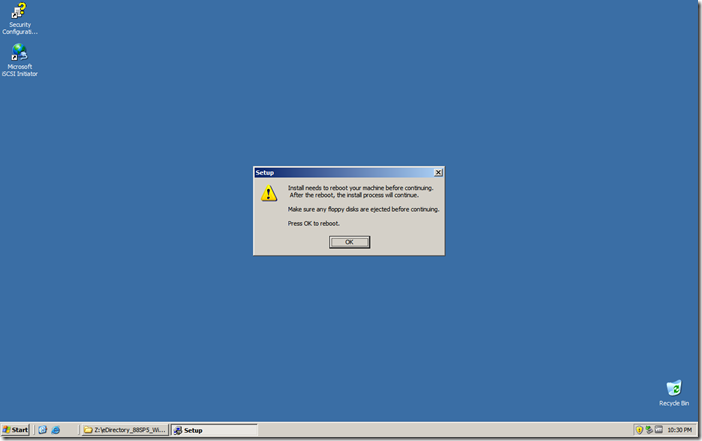
You might have to reboot the server after the NICI installation.

Img03

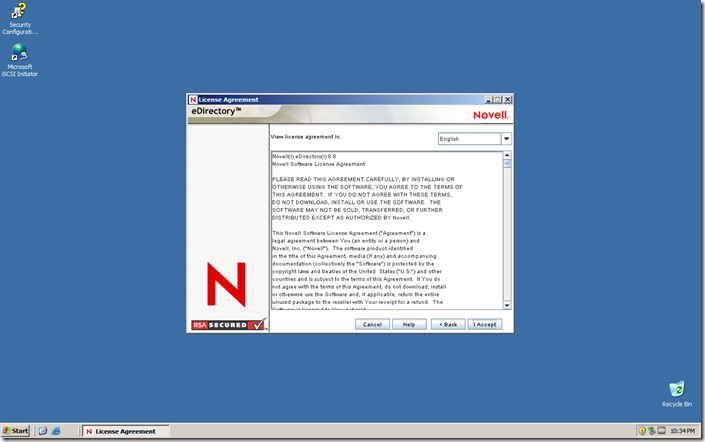
The eDirectory installation will continue after the reboot.

Img04

Img05

Img06

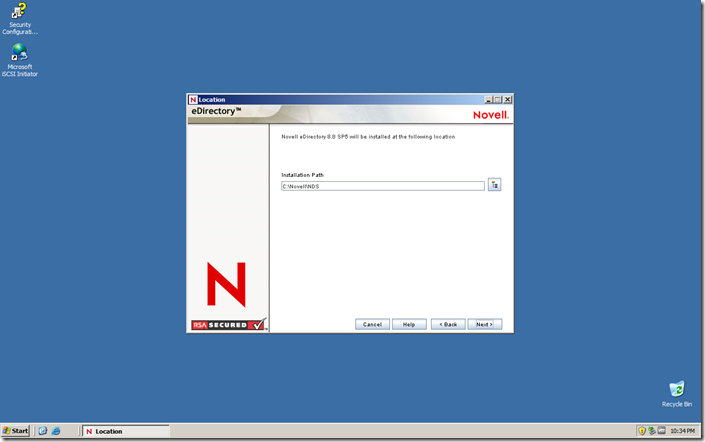
Specify or confirm the installation path, then click Next

Img07

Specify or confirm the DIB path, then click Next.

Img09

In eDirectory installation type, Create a New eDirectory Tree

Img11

Specify a Tree name, Server object context, and Admin name and password for the new tree.

To install a Windows server into an eDirectory tree that has containers with dots in the names (for example, O=novell.com or C=u.s.a). Using containers with dotted names requires that those dots be escaped with the backslash character. To escape a dot, simply put a backslash in front of any dot in a container name.

Img12

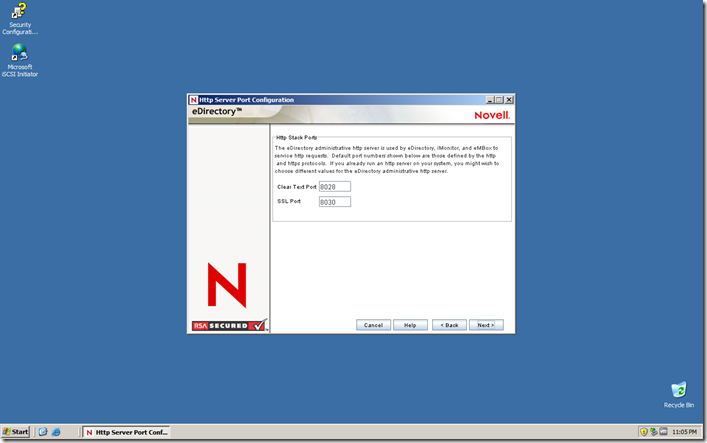
In the HTTP Server Port Configuration page, specify the ports to use for the eDirectory administrative HTTP server, then click Next.

Img13

In the LDAP Configuration page, specify which LDAP ports to use, then click Next.

Img14

Perform the following and click Next.

  1. Select the NMAS™ login methods you want to install.

  2. Specify whether to configure the SecretStore module. By default, the SecretStore option is selected.

Img15

Img16

Img17

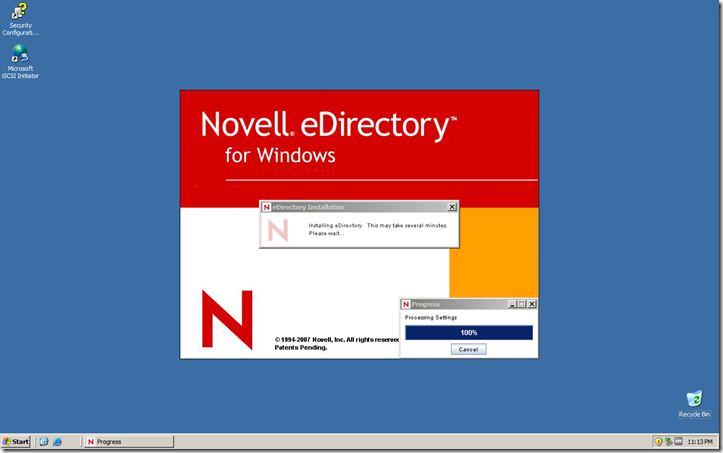
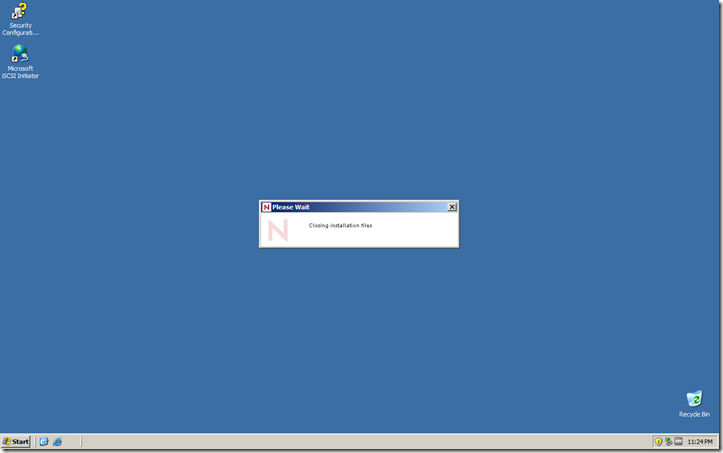
Once the installation is complete, setup will close the installation file.

Img18

It will be a good idea to restart the computer once after the installation is complete

Once the computer is restarted, go to Control Panel, the Novell eDirectory Services icon should be visible.

Img19